
Reading the Slope: How the Obstacle Bands in Snow Rider 3D Work and When to Commit
Published · 1 min read
The mountain is made of bands
Snow Rider 3D generates the slope in chunks as you descend. Each chunk carries one band of obstacles across the track with a gap or two through it, then a clear stretch, then the next band. Once you see the slope this way, steering becomes a series of decisions rather than a panic: read the next band, pick its gap, get there early.
Trees and rocks
These are static and never move. They also tend to come in groups, so the first tree you spot is usually the edge of a cluster. Aim for the wide gap, not the nearest one; a narrow gap at speed leaves no room to correct.
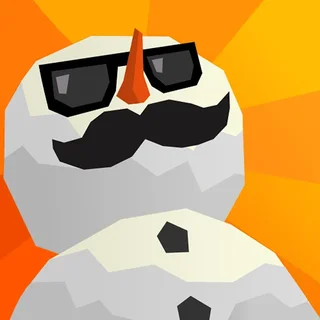
Snowmen
Snowmen sit in the open where you would not expect an obstacle and are easy to miss against the snow. They are shorter than the trees, so they arrive later in your field of view. Scan the clear stretches, not just the bands.
Snowballs
The giant snowballs roll in from behind and down the middle of the track. You cannot outrun them, but you can get out of their way: head for either edge of the slope and hold it until the ball passes. On a phone, that is one long drag to the side.
Logs and fences
Some obstacles stretch across the whole track and cannot be steered around: fallen logs, fences, low walls. These are what the up arrow is for. The hop is short, so press it when the obstacle is almost under the sled, not when you first see it. Jump too early and you land on the thing you were trying to clear.
Ramps and drops
Ramps launch you much further than the jump button, and drops off a ledge do the same. Both are your best tool for skipping a band you cannot read in time. The landing is forgiving as long as the sled comes down on snow rather than on a tree.
More from the blog
- Snow Rider 3D Gift Guide: Which Gifts to Take, Which to Skip, and How the Sled Shop Works
Gifts are the only currency in Snow Rider 3D. Here is how they are placed on the slope, which ones cost you a run, and how to unlock sleds without grinding.
- After the Mountain: The Snow Games, Runners, Platformers and Puzzles on snowrider3d.org
What sits next to Snow Rider 3D on the games shelf — the winter games, the endless runners, the stick-figure platformers and a few skill and puzzle games for a five-minute break.